Configure a seed sensor
Give a new or replaced seed sensor of the Hectare Mini the number of its row — how to hold an open sensor, the three menu items, and the check afterwards.
For a seed sensor the new address is the number of its row — the number shown under its column on the home screen. Prepare first as in Device configuration: only this sensor on the harness, “Agronomist” level, “Sensors Configuration” menu open.
The address of a seed sensor can be changed only while the sensor works normally. A tube sensor is ready as soon as it is connected. An open sensor must sit on its coulter, or be held so that no direct light falls into the optical channel — the gap between the two glasses. In direct light the sensor reports a fault and does not take the new address.
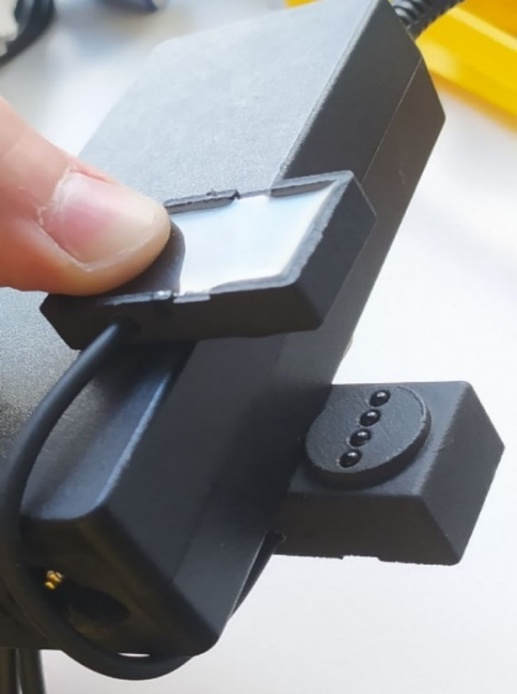
In “Sensors Configuration” select “Seed sensor” and press “MENU”. The menu has three items: “Sensor address”, “New address” and “Set”.
Leave “Sensor address” at “AUTO”. If it shows something else, set it back with “PLUS” / “MINUS”.
Select “New address” and set the row number with “PLUS” / “MINUS”.
Select “Set” and press “MENU”. The panel answers “Done” and the address it found the sensor on.
Disconnect the sensor and connect it again. Return to the home screen with “BACK” (twice from the “Service” menu). The sensor must appear under its row; the rows not plugged in show a red cross.
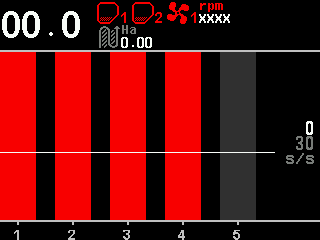
The home screen after re-addressing, with only one sensor on the harness: the other rows and devices crossed out in red.
Repeat for every sensor to be addressed. When all are done, return to “Operator” — set “User” back in “Settings”, or switch the panel off and on — and reconnect all devices.
Searching for a sensor
Hold “MENU” on “Sensor address” to search the network for a seed sensor: the item then shows the present address of the sensor found. Hold “MENU” again to search for the next one. With a found address in place of “AUTO”, “Set” re-addresses exactly that sensor, and the panel checks that the new address is free. If nothing is found, the panel shows “No connection”.
What the error messages mean: The rules of every configuration.
Something your machine does that this page does not answer? Write to support@agriwelt.com — an engineer answers.