Hectare monitors
Hectare One
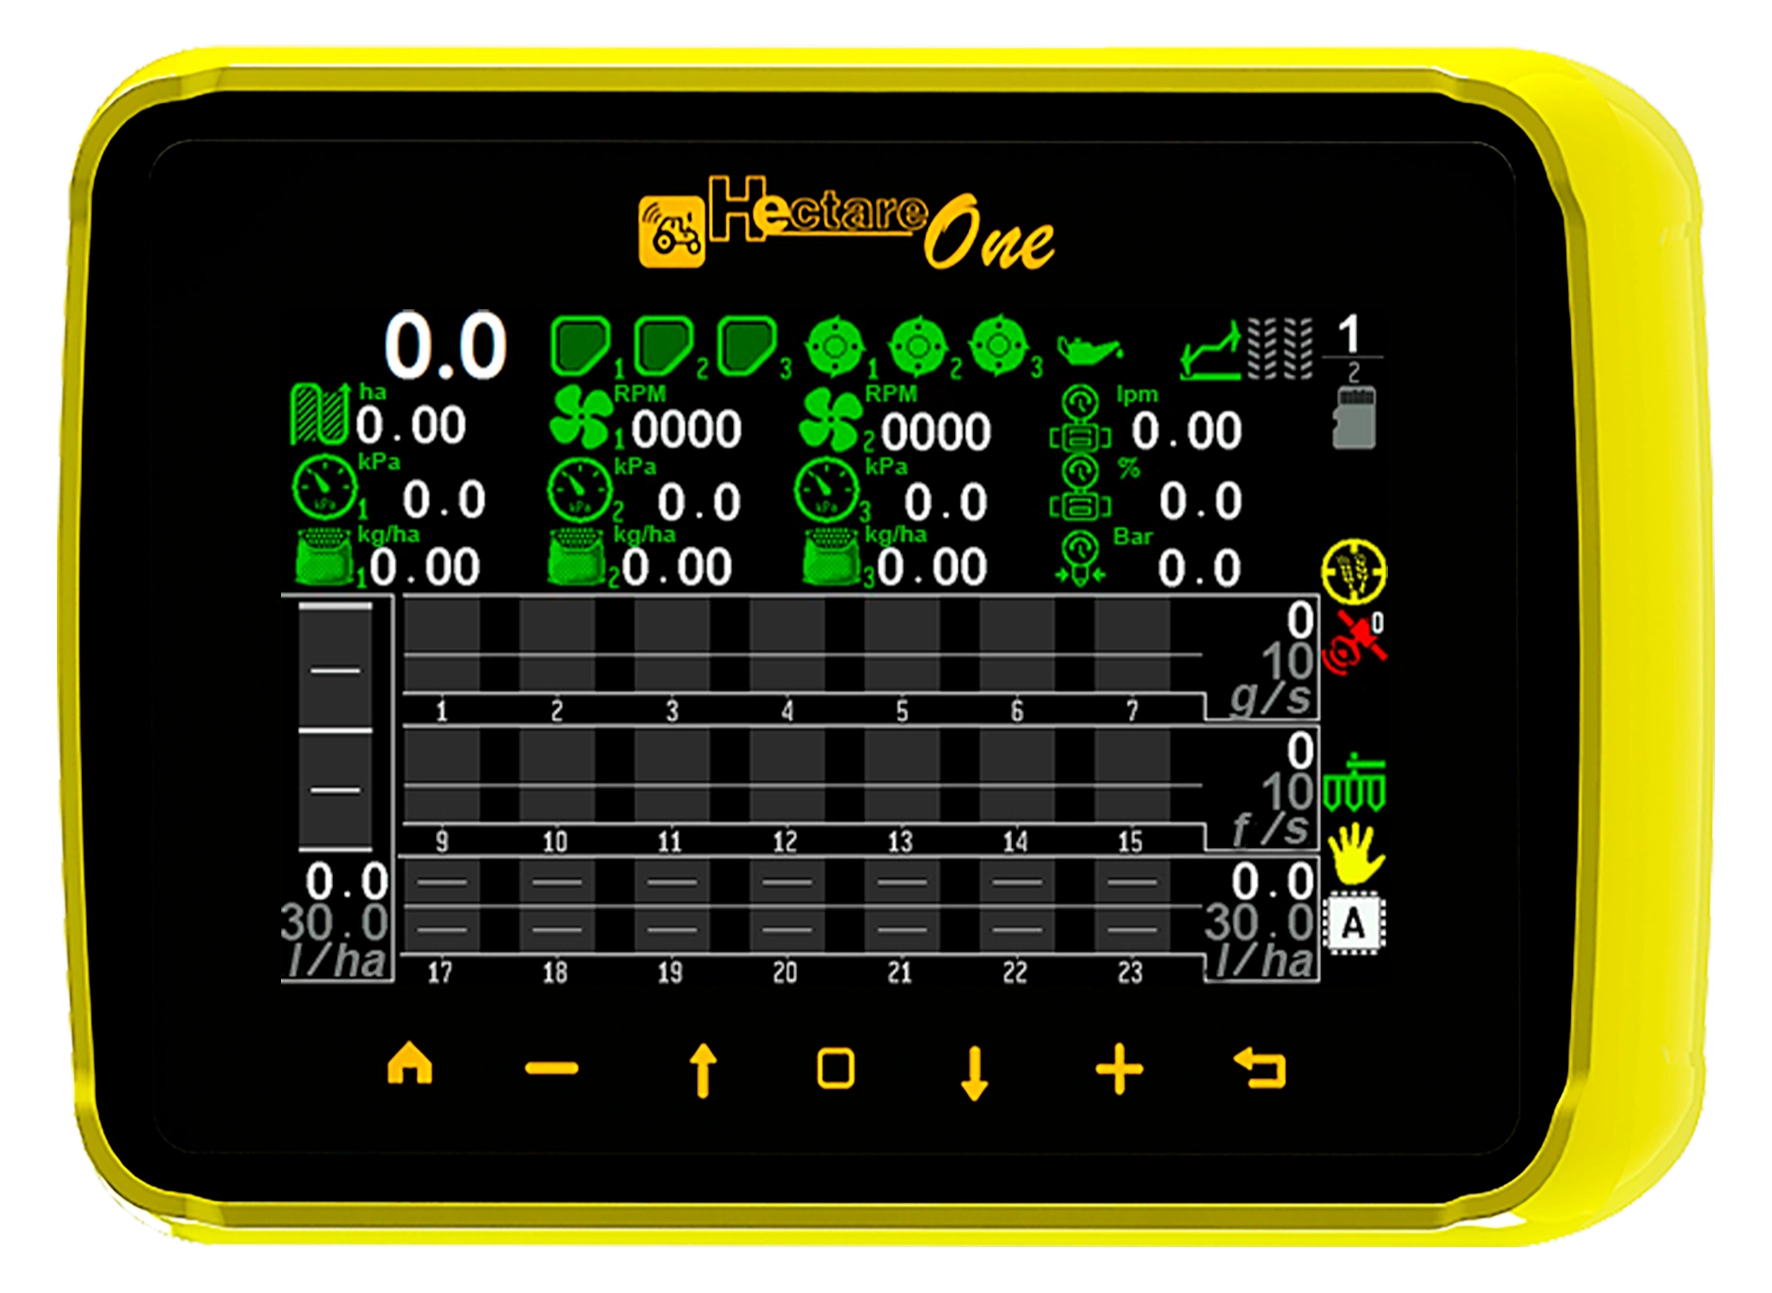
Seeding control panel, 7-inch screen, seven buttons and touch
Start here
- What the Hectare One system doesThe seeding control system with the Hectare One panel in one page — what it watches, what it drives, and what it records.
- What is suppliedThe minimum system, the optional devices a machine can carry, and the cables that connect them.
- SafetyWhat the panel can set in motion, who may operate it and from where, and how to handle the panel itself. Read before the first switch-on.
- The panel and its seven buttonsWhat is on the front and on the back of the Hectare One, and what each of the seven buttons does.
- Switching onWhat the panel does after power-on, which access level it starts at, and what a long splash screen means.
- Menus, context menus, number pad and windowsThe five things everything on the panel is done through — working screens, the main menu, the context menu of a device, the number pad, and the windows that ask or tell.
- Quick start — getting ready and moving offThe order of getting the machine ready, what to check before the field, what happens when you move off, and what to watch while working.
- About the pictures in this manualThe screens in this manual were shot on a test bench. What on them belongs to the bench and not to your machine.
The screens
- The home screenWhat every part of the home screen is — speed, indicators, area, rates, the section diagrams — on a drill standing still and on a planter at work.
- The section diagram — columns, line and coloursHow to read the columns of the home screen in the "Precise" and the "Flow" mode, and what the control line means.
- Column colours and the four states of a sectionWhat each colour and symbol of a column on the section diagram means, and the four combinations of control and product application a section can be in.
- The home screen on different machinesThe same panel on a planter, a drill and machines of 44 and 96 rows — standing still and at work — so you can recognise your own screen.
- Indicators of the home screenEvery indicator of the home screen with all its states — what you see, what it means, what to do.
- The second home screenThe home screen for a machine without seed sensors — what is on it, how to open and close it, and what its chevrons and tiles do.
- The working screens and how to move between themThe four working screens in their circle, the second home screen beside it, and every way — button or swipe — to get from one to another.
- The Table screenThe readings of every section in figures — which tables your machine has, what each column means, and how to read the colours.
- The Statistics screenThe report of the work on each field, block by block and line by line — and the menu that chooses the field, saves the report and erases it.
- The Motors screenThe dispenser electric motors and the tramline actuators of the machine, one tile each — how to read a tile and how to reach a motor's settings.
How to…
- Change the target rateRaise or lower the rate the panel holds and guards, from the home screen, while seeding — with the buttons or by touch.
- Lock product application by handStop all product application with one long press, and start it again — what the lock does and how to see that it is on.
- Set the alarm level automaticallyLet the panel set the alarm level of the diagrams from the rate the machine really sows, instead of guessing it — grain drills in the "Flow" or "Hybrid" mode.
- Take a sensor into or out of controlStop the panel from watching one sensor — a section that is shut off, a broken sensor — and take it back later.
- Zero the readings of the Table screenSet the seed and fertilizer counters of the Table screen to zero — for a new field or a new seed lot — without touching the field statistics.
- Fill the disks with seedsTurn the seed disks of a planter with dispenser motors until every disk holds seed, so that sowing starts from the first metre — how to run it and read the result.
- Set up the tramline rhythmWhat a tramline rhythm is, worked out for your drill and sprayer, and how to set it up on the panel step by step.
- Move to the next tramline boutHow the bout changes by itself at the headland, what it needs to do so, and how to change or correct it by hand.
- Set the screen brightnessMake the screen brighter, dimmer or automatic — one item in the Settings menu.
- Work without the speed sensorWhen the speed sensor fails in the field — finish the work on a simulated speed and control the application by hand.
Setting up
- Access levelsThe three access levels of the Hectare One, what each one allows, and how to switch between them.
- Enable the Agronomist levelThe steps, with the screen of each, to raise the access level to "Agronomist" or "Service" before changing settings, and to return to "Operator" afterwards.
- The profileWhat the profile tells the panel, how to check it, what each profile item allows, and when the panel refuses a profile.
- Save and load settingsKeep a copy of all the settings of the current profile in the panel or on a memory card, and bring it back — for example to move one panel between implements.
- The Settings menuEvery item of the panel's own "Settings" menu — brightness, volume, language, alarm delay, diagram settings, date and time — with its range and access level.
- Seeding machine parametersThe working width, the modes of seeding and fertilizing, the tramline, the mapping of sections to actuators, and the two calibrations that need the machine to move.
- Sensor settingsHow to reach the settings of one sensor, what its context menu holds, and which calibrations exist.
- The sensor status screenHow to read the status screen of a sensor — channel, address, type, link state, live figures and active alarms — and what each kind of sensor shows on it.
- Travel speed sensorThe parameters of the travel speed sensor — pulses, wheel diameter, speed limits, imitation — and what setting the imitation does by itself.
- Calibrate the speed sensorDrive a marked 100 m so that the panel corrects the pulse figure of the travel speed sensor.
- Seed sensors and dry fertilizer sensorsThe parameters shared by a group of optical seed or dry fertilizer sensors — target rates, fraction, sensitivity, rate error, skips and doubles, tramline tolerance.
- Liquid fertilizer sensors and pump controllerThe parameters of the liquid fertilizer section sensors and of the liquid fertilizer pump controller.
- Dispenser shaft sensorThe parameters of the dispenser shaft sensor — rotation control against the wheel, or weight control by the mass applied.
- Calibrate the dispenser rotationTurn the drive wheel and the dispenser shaft together so that the panel learns how many shaft pulses belong to one wheel pulse.
- Calibrate the dispenser by weightTurn a ground-driven dispenser into a container and weigh the product, so that the panel can watch the rate in kilograms per hectare.
- Dispenser electric motorThe parameters of an electric metering motor — gear ratio, direction, speed window, product, calibration figures and the calibration button.
- Calibrate a metering motor by weightLet the electric motor turn the metering roller into a container and weigh the product, so that the panel knows how much one turn delivers.
- Fan sensorThe parameters of the fan speed sensor — the allowed speed band and the pulses per turn.
- Pressure sensorThe parameters of the air pressure sensor — the smoothing filter and the allowed pressure band.
- Marker sensorsThe parameters of the marker sensors — which marker a sensor watches and which input state means "lowered".
- Hopper, work position and engine sensorsThe settings of the two-state sensors — hopper level, work position of the implement, and the five tractor engine sensors.
- Tramline actuatorThe two parameters of the tramline actuator, where the rest of its settings live, and what its status screen shows.
- Device configuration — before you startWhat device configuration is, the preparation it needs, and the three-item pattern every configuration menu follows.
- Configure a seed sensorGive a new or replaced seed sensor the number of its row.
- Configure a pressure sensorGive a new or replaced air pressure sensor its address.
- Configure a HUB8Tell a HUB8 input device which sensor is wired to each of its eight channels.
- Configure a tramline actuator controllerTell an actuator controller which tramline actuator it drives and which marker sensors are wired to it.
- Configure the motor controllersGive a metering motor controller its address, choose the kind of controller, and set its parameters.
- Motor controller diagnosticsHow to read what a metering motor controller reports about itself on the Motors screen — speed, error code, voltages, temperature, current, status bits and fault counters.
- The Service menuEvery item of the "Service" menu, its access level, and which ones an engineer should leave alone.
Alarms and troubleshooting
- How alarms workWhen the Hectare One raises an alarm, what the alarm window shows, how to close it, and how to use the alarm topics of this manual.
- Any device: connection lost or wrong device typeThe two alarms any sensor, actuator, controller or input device can raise — no answer from the device, or the wrong kind of device answering.
- Fan or dispenser shaft: speed alarmsWhat to do when the fan or the dispenser shaft turns too slowly, too fast, or not at all.
- Hopper emptyWhat to do when the panel reports that a hopper is running empty.
- Air pressure too high or too lowWhat to do when the pressure sensor of the air system reports a pressure or vacuum outside the allowed range.
- Application rate too low, too high, or not under controlWhat to do when the seed, dry fertilizer or liquid fertilizer sensors report a rate below or above the allowed band, or too little product to start control at all.
- Too many doubles or skipsWhat to do when a seed sensor of a precision planter counts more doubles or skips than allowed.
- Tramline: actuator stalled or product in the tramlineWhat to do when the tramline actuator jams, its position sensors contradict each other, or a shut-off section still delivers product.
- Seed or fertilizer sensor clogged, light-struck or brokenWhat to do when an optical seed or fertilizer sensor reports a blocked channel, too much light, a fault of its own, or outdated firmware.
- Tractor engine: oil pressure, battery charge, fuel, air filterWhat to do when one of the on-board engine sensors — oil pressure, battery charge, fuel level, air filter — raises an alarm.
- Product rate by weight too low, too high, or impossibleWhat to do when a product dosed by weight — by an electric motor or a weight-controlled dispenser — misses its target rate, or cannot reach it at all.
- User is Agronomist: alarms will not be shownWhy the panel warns that alarms are hidden, and how to get them back.
- Travel speed sensor failed, or speed limits contradictWhat to do when one of two speed sensors stops giving pulses, or when the minimum and maximum travel speed are set the wrong way round.
- Metering motor: jammed, electrical faults, bootloaderWhat to do when the controller of a dispenser electric motor reports a jam, a short circuit, over-current, a wrong supply voltage, overheating or an unknown fault.
- Liquid fertilizer pump: pressure and rate alarmsWhat to do when the liquid fertilizer pump controller reports too much pressure, a failed pressure sensor, or a rate it cannot hold.
- Read the fault code of an electric motorWhere the panel shows the numeric fault code of a metering motor controller, and what each code means.
Reference
- Buttons and gestures on every screenWhat each of the seven buttons and each touch gesture does — on the home screen, in menus, in windows, on the number pad and on every working screen.
- TermsThe words this manual uses for rates, control, sensors, tramlines and devices — what each means on the Hectare One.