Configure a seed sensor
Give a new or replaced seed sensor the number of its row.
For a seed sensor the new address is simply the number of the row — the same number the operator sees under the column on the home screen. Prepare first as in Device configuration: only this sensor on the cable, “Agronomist” level.
The address of a seed sensor can only be changed while the sensor is working normally. A tube sensor is ready as soon as it is connected. An open sensor must sit on its bracket, or be held so that no daylight falls into the optical channel — the gap between the two glasses. In direct light the sensor reports a permanent seed flow and does not accept the new address.
Choose “Service” → “Sensors Configuration” → “Seed sensor” and press “MENU”. The menu has three items.
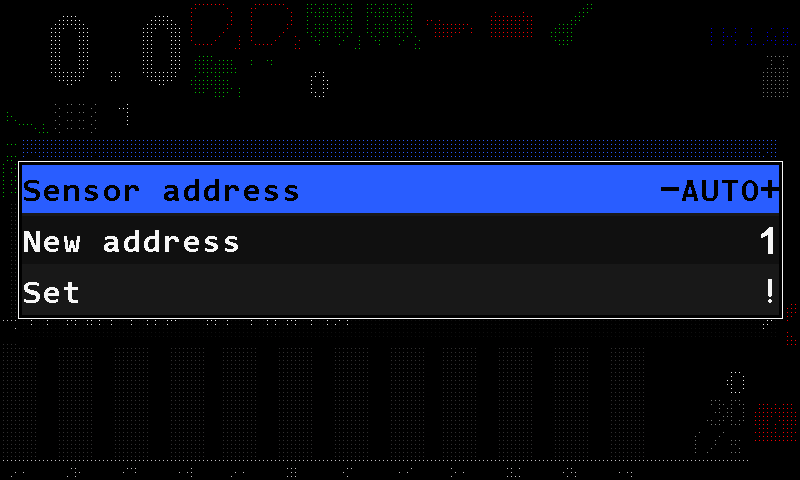
The “Seed sensor” configuration menu. Leave “Sensor address” at “AUTO”.
Select “New address” and set the row number with “PLUS” / “MINUS”.
Select “Set” and press “MENU”. The panel answers “Done”.
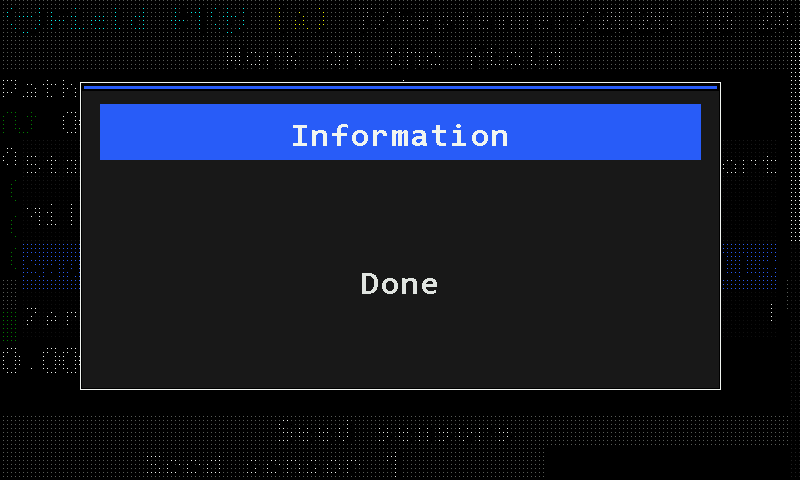
The panel confirms with “Done”. Disconnect the sensor and connect it again. On the home screen, check that it appears under its row.
When all sensors are done, set the level back to “Operator”, or switch the panel off and on.
Something your machine does that this page does not answer? Write to support@agriwelt.com — an engineer answers.