Calibrate the speed sensor
Drive a marked 100 m so that the panel corrects the pulse figure of the travel speed sensor.
The calibration corrects the pulse figure of the speed sensor against a known distance. Before you start, set “Pulses” and “Diameter, cm” of the sensor (Travel speed sensor) — the calibration corrects the pulse figure; it cannot invent it. You need the “Agronomist” level (Enable the Agronomist level).
Mark out 100 m on level ground and put the machine at the start.
Open “Settings” → “Seeding machine parameters”, select “Speed calibration” and press “MENU”. The panel shows “Pass 100m and press STOP” with a single “STOP” button.
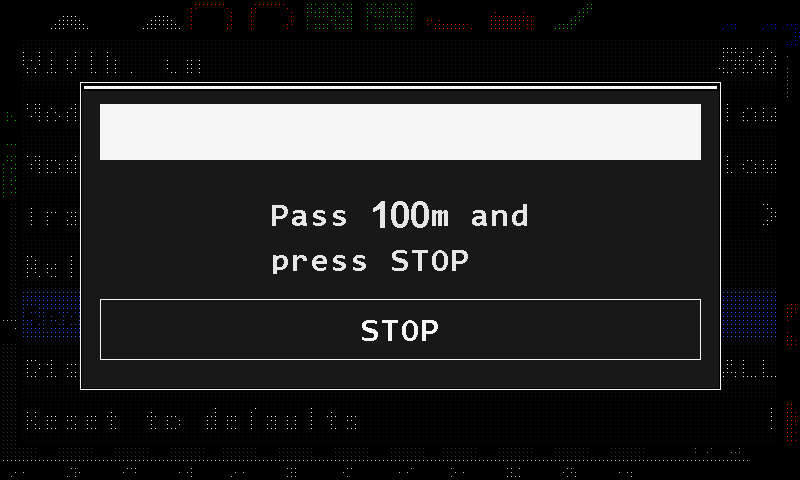
The speed calibration window. Drive the marked distance and stop at the end.
Touch “STOP”. The panel shows “Done” and closes the window by itself.
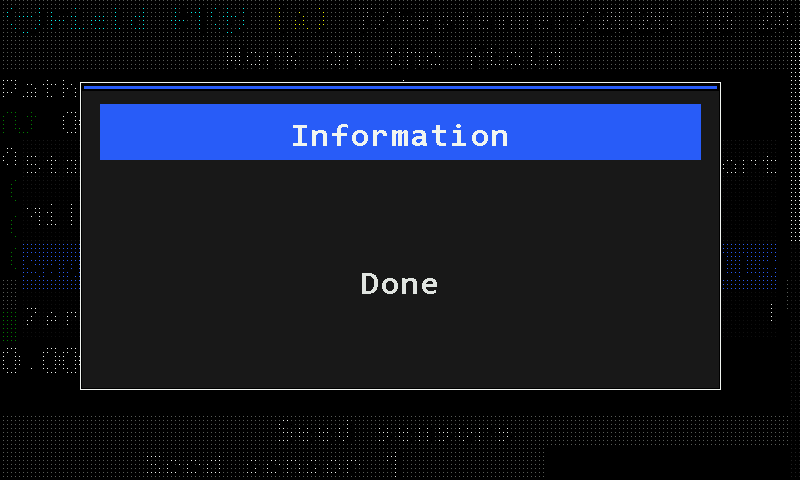
The panel confirms with “Done”.
The distance is fixed at 100 m; the panel does not ask for it. It waits half a second after “STOP” before reading the counter and checks the connection once more in that moment — a sensor that drops out on the last metre is reported as a lost connection, not as a bad result.
When it does not work
| The panel shows | Meaning |
|---|---|
| “No speed sensor” | The profile has no speed sensor. The calibration does not start. |
| “Connection lost with the sensor! Calibration canceled!” | The sensor does not answer. |
| “Sensor not controlled! Calibration canceled!” | The sensor is out of control. Take it into control (Take a sensor in and out of control). |
| “FAILURE! The tractor did not move!” | The counter did not move: the sensor gave no pulses at all — not an inaccurate reading, none. Check the sensor and its cable. |
| “Calibration canceled!” | The window was closed some other way than with “STOP”. Nothing has changed. |
Something your machine does that this page does not answer? Write to support@agriwelt.com — an engineer answers.