Calibrate a metering motor by weight
Let the electric motor turn the metering roller into a container and weigh the product, so that the panel knows how much one turn delivers.
This calibration stores how much product one turn of the metering roller delivers — “Weight, gr” and “Rotations” of one motor. Repeat it whenever the product or the roller changes. It is done at the “Operator” level.
You need: the machine standing still, a container that holds 1 to 60 kg of the product, and scales.
Hold the tile of the motor and choose “Dispenser calibration(weight)”.
The motor's context menu with the calibration item at the top. The first screen shows the target rates and, under “Product dosage speed limitation:”, the “Min speed, km/h” and “Max speed, km/h” the current settings allow. If it reads “Can not provide dosage!” in red, the roller fitted cannot deliver the rate at any speed — calibration will not repair that; fit another roller. Otherwise touch “Calibrate electric motor N” (or press “PLUS”).
The second screen prepares the rotor. Weigh the empty container and write the weight down. Fill the hopper and place the empty container under the dispenser.
Touch “Fill the rotor cells” (or press “MENU”). The motor turns the driven shaft exactly two turns and stops by itself. “Stop motor” (“BACK”) interrupts it. Repeat until the cells are full.
Touch “Go to calibration” (or press “UP”). The third screen shows “Rotations” to one decimal.
Empty the container and place it under the dispenser again.
Touch “Calibration” (or press “MENU”): the motor runs. Touch “Stop motor” (or press “BACK”) to stop it. Run and stop as often as needed — the counter keeps a running total. Fill the container as far as possible, not less than 1 kg and not more than 60 kg.
Touch “Complete” (or press “MINUS”). It appears once more than one full turn has been made.
Weigh the filled container. The number pad asks for the difference of the filled and empty container in grams — 1000 to 60000 g. Type it and touch “OK”. The panel stores “Weight, gr” and “Rotations” for this motor.
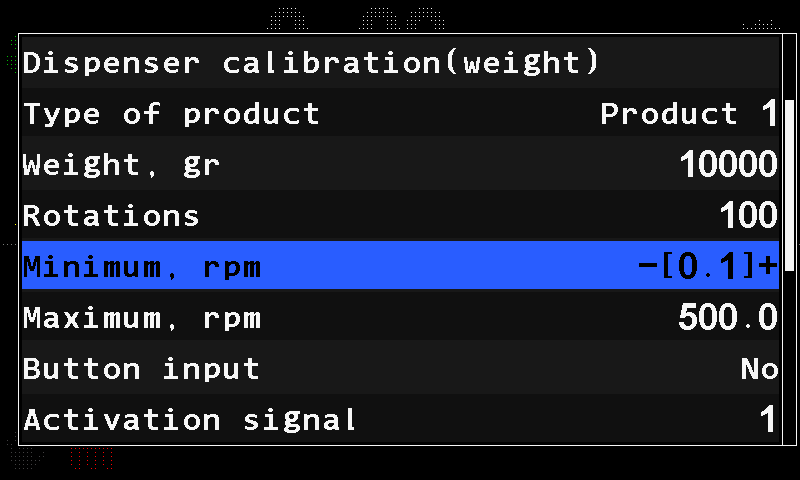
During the rotor filling the motor runs at the middle of its “Minimum, rpm” … “Maximum, rpm” window, but not faster than 60 rpm.
Run the motor from a button at the dispenser
If “Button input” of the motor is set to an input (1 … 3) and “Activation signal” is set to match that button (Dispenser electric motor), a button on that input starts and stops the motor exactly as “Calibration” and “Stop motor” do: the motor runs while the button is held and stops when it is released. One person can stand at the dispenser with the container instead of walking to the cab between runs. The screen shows the same buttons whether or not such a button is set up — the panel gives no hint of it.
When the calibration stops by itself
The calibration ends with a failure if the motor stops answering, if the motor raises an alarm, or if ten seconds pass without pulses from the rotation sensor — then the panel shows “No data from rotation sensor”. A jammed or unplugged rotation sensor ends the run rather than quietly storing zero.
Something your machine does that this page does not answer? Write to support@agriwelt.com — an engineer answers.