Configure a seed sensor
Give a new or replaced seed sensor the number of its row.
For a seed sensor the new address is simply the number of the row — the same number the operator sees under the column on the home screen. Prepare first as in Device configuration: only this sensor on the cable, “Agronomist” level.
Open “Service” → “Sensors Configuration” → “Seed sensor” — tap each item twice. The menu has three items: “Sensor address”, “New address” and “Set”.
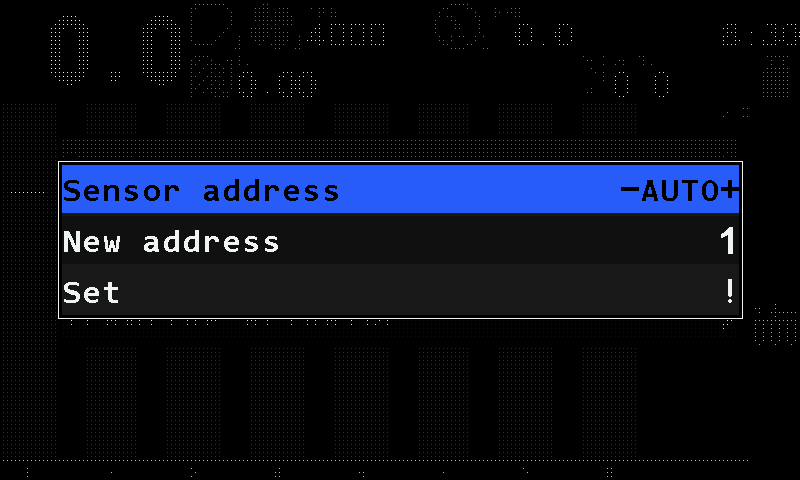
The Seed sensor configuration menu. Leave “Sensor address” at “AUTO”.
Tap “New address” and swipe right or left to the row number.
Tap “Set”, and tap it again. The panel answers “Done” and, below it, “Found #” with the number the sensor had until now.
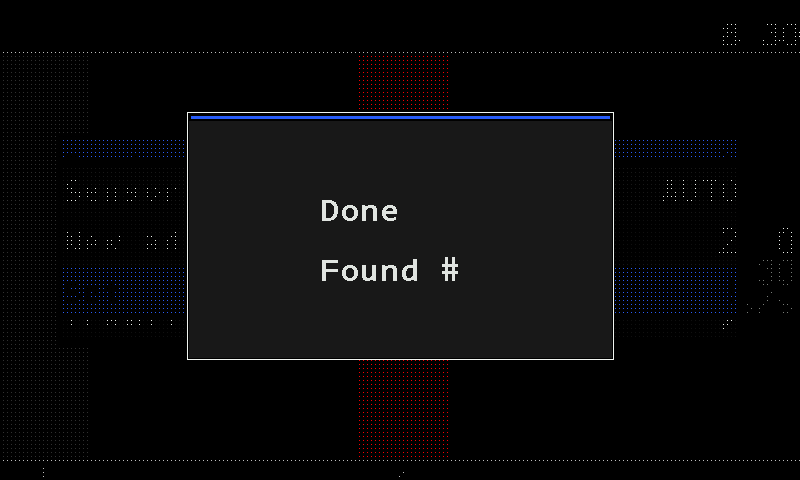
The panel confirms with “Done”. The number after “Found #” is left out of the picture. Disconnect the sensor and connect it again. On the home screen, check that it appears under its row.
If the panel answers “More than one device in network!”, another device is still on the cable. If it answers “No connection”, the sensor does not answer — check its cable and power.
When all sensors are done, set the level back to “Operator”, or switch the panel off and on. The parameters of the seed sensors: Seed sensors and dry fertilizer sensors.
Something your machine does that this page does not answer? Write to support@agriwelt.com — an engineer answers.